Your food looks great in person. Customers at the farmers market lean in when they see your booth. People who try your salsa, your cookies, or your bread come back the next week.
But your photos do not do your food justice.
The pictures on your online store look flat. Your Instagram posts get scrolled past. The images on your product labels look like they were taken in a dimly lit kitchen — because they were.
The problem is not your food. It is your photos. And you do not need a professional camera, a studio, or a $1,000 photo shoot to fix it. You need your phone, a window, and about 20 minutes.
Here is how to take product photos that actually make people want to buy your food — using nothing but the phone you already have.
The short version: You do not need a professional camera or a $500 photo shoot to take product photos that sell. All you need is your phone, a window with natural light, and a clean background. The keys are turning off your flash and overhead lights, shooting from a 45-degree angle for most products, and making a few simple edits (brightness, contrast, warmth) in a free app like Snapseed. Consistency matters more than perfection — pick one setup and use it for every product so your store looks polished and professional.
When someone visits your online store or sees your social media post, they cannot smell your food. They cannot taste it. They cannot pick it up and look at it. All they have is your photo.
According to Bottle, customers are 2.5 times more likely to buy food when it is paired with high-quality photos. That is not a small difference — it is the gap between someone clicking "add to cart" and scrolling past your product entirely.
Professional food photographers charge $500 to $1,000 per day. That is not realistic for a part-time food vendor making $300 to $800 a week. But here is the good news: modern smartphones take photos that are more than good enough for an online store, social media, and marketing materials. You just need to know how to use yours.
If you want a broader overview of food photography for your business, start with our guide on food photography tips for farmers market vendors. This article focuses specifically on phone-only techniques you can use right now.
You do not need to buy anything to start taking better photos. Here is what you actually need:
That is it. No ring lights, no tripods, no backdrops. If you eventually want a small phone tripod (about $15), it helps with consistency, but it is not required to get started.
Where you shoot matters more than what you shoot with. Here is how to set up a simple photo station in your home.
Find a window with indirect light. You want bright, even light — not direct sunlight streaming in and creating harsh shadows. A north-facing window works well, or any window on an overcast day. If the sun is hitting directly, hang a white sheet or thin curtain over the window to diffuse it.
Set up a clean background. Place your background surface (cutting board, poster board, countertop) near the window. The light should come from the side or slightly behind your product — never from directly in front.
Clear the clutter. Move anything out of the frame that does not belong. No mail on the counter, no other dishes, no kitchen clutter in the background. Simple backgrounds keep the focus on your food.
Position your product. Place your food about two to three feet from the window. If one side looks too dark or shadowy, hold your white reflector (foam board or white paper) on the opposite side of the food from the window. This bounces light back and fills in the shadows.
Lighting is the single most important factor in food photography. Great lighting makes average food look appealing. Bad lighting makes great food look terrible.
Use natural window light. This is the simplest and best light source for food photos. Position your food near a window and let the daylight do the work.
Turn off your kitchen lights. Overhead kitchen lights — especially fluorescent ones — cast a yellow or greenish tint on your food. Turn them off when you shoot. Use only the window light.
Never use your phone's flash. Flash flattens your food, washes out colors, and creates harsh white spots. It makes everything look worse. Turn it off and rely on natural light instead.
Side lighting creates depth. Position the window to your food's left or right side. This creates natural shadows that give your food dimension and make it look three-dimensional instead of flat.
Back lighting works for drinks and translucent foods. If you are photographing a jar of honey, a bottle of hot sauce, or a glass of kombucha, try positioning the light behind the product. This makes liquids glow and highlights the color beautifully.
Shoot at the right time. Early morning and late afternoon light is soft and warm. Midday sun is harsh and creates hard shadows. If you can only shoot at midday, use a sheer curtain to soften the light.
According to ExpertPhotography, using the 1x lens on your phone produces the best results for food — avoid zoom or ultra-wide, which distort your products. Here are the three angles that work for almost every food product.
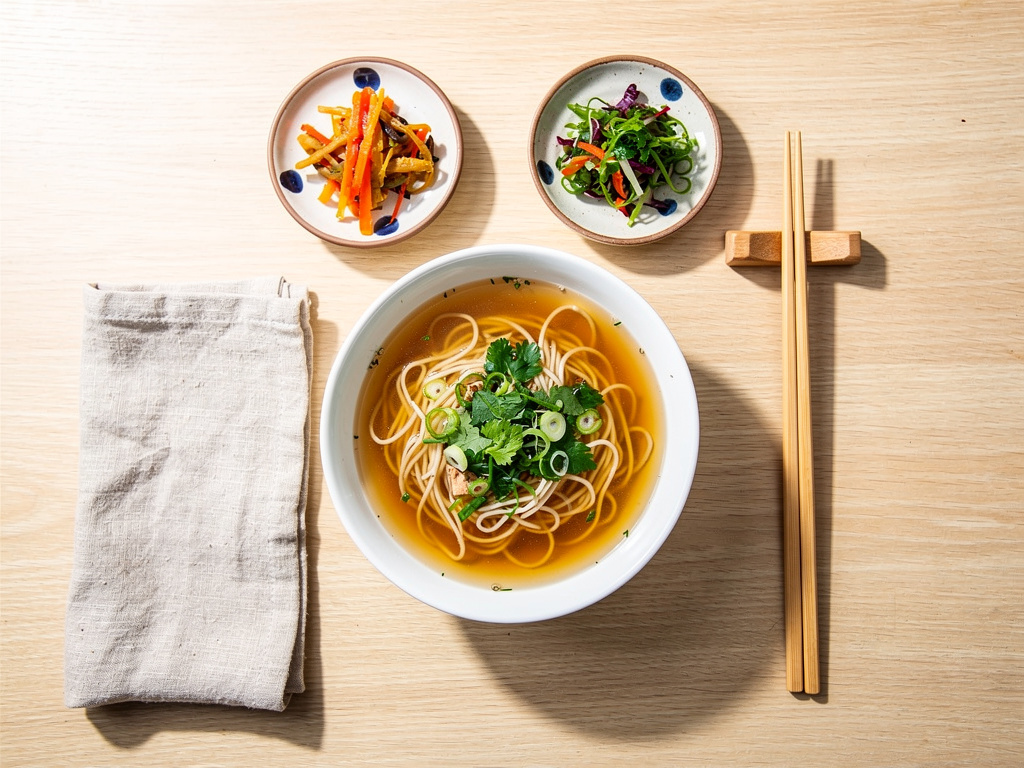
Flat lay (overhead). Hold your phone directly above the food, looking straight down. This works best for products with detail on top — a pizza, a quiche, a box of assorted cookies, a spread of products on a table. Keep your phone level so the image is not tilted.
45-degree angle. Hold your phone at roughly a 45-degree angle to the food — halfway between straight-on and overhead. This is the most versatile angle and works for almost everything: bowls, plates, jars, bags of product. It shows both the top and the side of your food.
Straight-on (eye level). Get down to the same level as the food and shoot directly at it. This works best for products with visible layers or height — a stacked burger, a layered cake, a tall jar of preserves, a loaf of bread.
For most food vendors, the 45-degree angle is your default. Use it for 70 percent of your shots, and mix in flat lays and straight-on shots for variety.
You do not need to be a food stylist. A few simple tricks make a big difference.
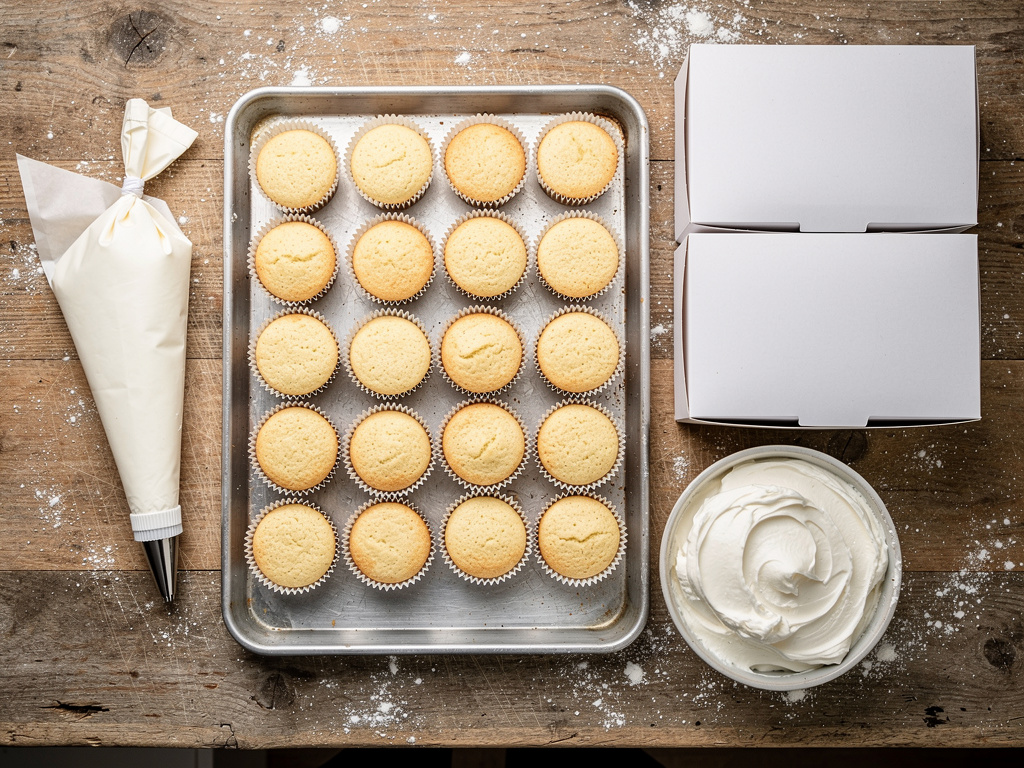
Use odd numbers. If you are photographing cookies, muffins, or jars, arrange them in groups of three or five. Odd numbers look more natural and visually interesting than even numbers.
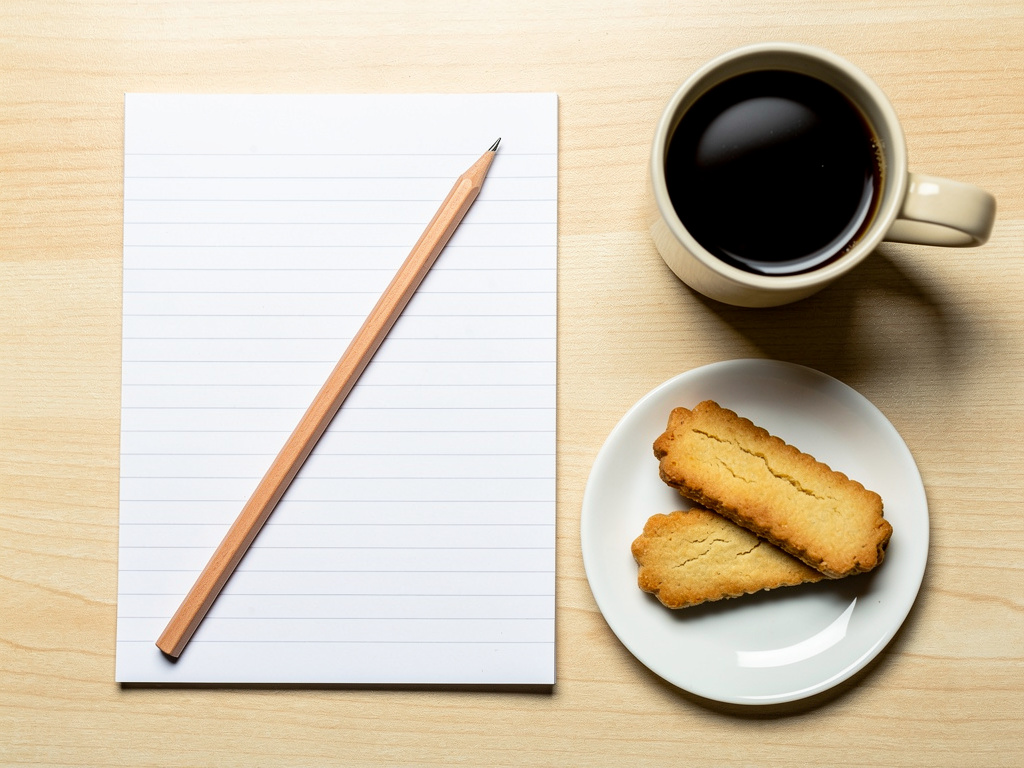
Leave negative space. Do not fill every inch of the frame with food. Leave some empty space around your product. This gives the viewer's eye room to breathe and keeps the focus on the food itself.
Add a garnish. A sprig of fresh herbs, a sprinkle of flaky salt, a few scattered berries, or a drizzle of sauce adds color and makes your food look freshly made.
Choose simple plates and surfaces. White or neutral-colored plates and backgrounds keep the focus on your food. Busy patterns compete with the food for attention.
Show context. A jar of salsa looks more appealing next to a few tortilla chips. A loaf of bread looks better with a slice cut and a pat of butter nearby. Adding context helps customers imagine eating your food.
Keep it clean. Wipe plate edges, clean up drips, and straighten labels before you shoot. Small messes that look fine in person are obvious in photos.
Most people never touch their phone's camera settings. A few small adjustments make a noticeable difference.
Turn on grid lines. Go into your camera settings and enable the grid overlay. This divides your screen into nine squares using the rule of thirds. Place your product along the grid lines or at the points where they intersect — not dead center.
Lock your exposure. Tap and hold on the screen where your food is. This locks the focus and exposure. Then slide your finger up or down to manually adjust the brightness. This prevents your phone from overexposing or underexposing the shot.
Use the 1x lens. Do not use zoom (it reduces quality) or ultra-wide (it distorts your food). Stick with the standard 1x lens and move yourself closer or further away instead.
Turn off HDR. HDR (High Dynamic Range) can make food look overprocessed and unnatural. Turn it off for food photos and rely on natural light for even exposure.
Try portrait mode for close-ups. If your phone has portrait mode, use it for individual product shots. It blurs the background slightly, which makes your product stand out. Just make sure the blur looks natural — sometimes portrait mode struggles with small objects.
Editing should enhance your photos, not make them unrecognizable. The goal is to make the photo look like what the food looks like in real life — just a little brighter and sharper.
Use a free editing app. Snapseed (free, by Google), VSCO (free version available), and Lightroom Mobile (free version available) are the three best options. All three are available for iPhone and Android.
The five edits that matter:
Be consistent. Once you find settings that work, save them as a preset in your editing app and apply them to all your product photos. Consistency across your store and social media makes your brand look professional.
The photos you need for your online store are different from the ones that work on social media. Plan to shoot both types.
For your online store:
For social media:
For tips on using your photos effectively on Instagram, see our guide on Instagram tips for farmers market vendors. And if you need help designing a product list or menu that showcases your photos, check out our guide on how to create a simple menu or product list.
These are the most common mistakes food vendors make with product photos — and all of them are easy to fix.
Using the flash. This is the single most common mistake. Flash makes food look washed out, flat, and unappetizing. Turn it off permanently for food photos.
Shooting under kitchen lights. Overhead fluorescent and LED kitchen lights cast ugly color tints. Turn them off and use window light only.
Cluttered backgrounds. A stack of mail, a cluttered counter, or random objects in the frame distract from your food. Clear everything except what you intentionally want in the shot.
Too many filters. Heavy Instagram filters make your food look artificial. Stick to light, consistent edits that enhance the natural look of your food.
Using zoom. Digital zoom degrades image quality. Move your body closer to the food instead of zooming in.
Shooting from too far away. Get close. Fill the frame with your product. Customers want to see the detail — the texture of the crust, the color of the jam, the label on the jar.
Inconsistent photos. If every photo on your online store looks different — different lighting, different backgrounds, different angles — your store looks unprofessional. Pick a setup and stick with it.
Homegrown is $10/month with no percentage fees beyond standard payment processing and lets you upload product photos directly to each listing — so the phone shots you just took go straight to the page where customers order. Compare that to Etsy, where your photos compete with sponsored listings from other sellers on the same page, or posting on Instagram where great photos get likes but there is no checkout button underneath them. Homegrown does not take your photos — it gives them a home where they directly drive sales. Customers order for pickup or local delivery, whichever they prefer.
Do I really need a professional camera for product photos?
No. Modern smartphones take photos that are more than good enough for an online store, social media, and marketing materials. Professional cameras offer more control, but for a part-time food vendor, your phone is all you need. Focus on lighting and composition rather than camera equipment.
What is the best time of day to take food photos?
Early morning and late afternoon, when natural light is soft and warm. Avoid midday when the sun creates harsh, direct light. If you can only shoot at midday, use a sheer curtain or shoot on a cloudy day when the light is naturally diffused.
How many photos should I take of each product?
Take at least 20 to 30 shots of each product from different angles. You will only use three to five of them, but having options means you can pick the best ones. Storage on your phone is free — do not be stingy with shots.
What background should I use for product photos?
For your online store, use a clean white or neutral background so the food is the focus. A white cutting board, poster board, or marble surface works well. For social media, you can use more interesting backgrounds — a rustic wooden table, a linen cloth, or your actual booth at the market.
What free apps can I use to edit food photos on my phone?
Snapseed and Lightroom Mobile are the two best free options. Both let you adjust brightness, contrast, warmth, and sharpness without heavy filters. Keep edits subtle — increase brightness by 10 to 20 percent, add a small amount of warmth, and sharpen slightly. The goal is to make your product photos look like the food looks in real life, just a little brighter and cleaner.